Project Level: moderate
Project Length: 2-3 Hours
Sakrete Pro Tips | Building a Dry-Stack Masonry Wall
Determining the types of loads that your wall will be subjected to is a crucial first step—a decorative wall is far simpler and will require next to no reinforcement, whereas a low retaining wall or other structural wall will likely require grouting and rebar reinforcement.
It’s crucial that you consult your local building code before tackling a load-bearing wall. For the purposes of this Project Guide, we’ll assume a simple, non-load bearing structure.
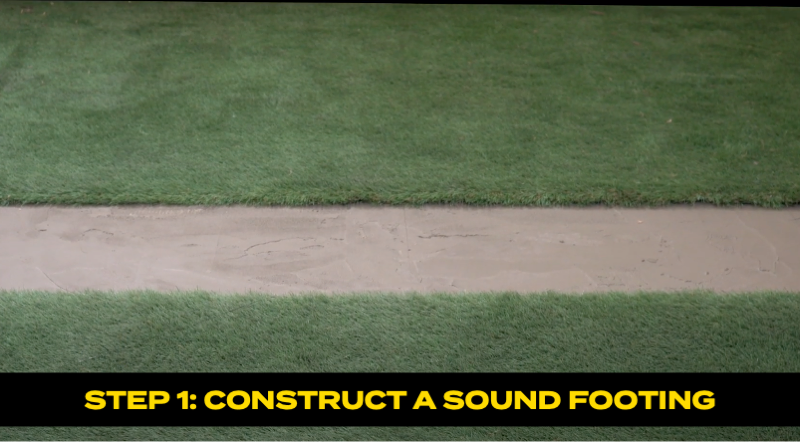
Project Tip: The footing should be approximately twice the width of the block wall – typically 16”.
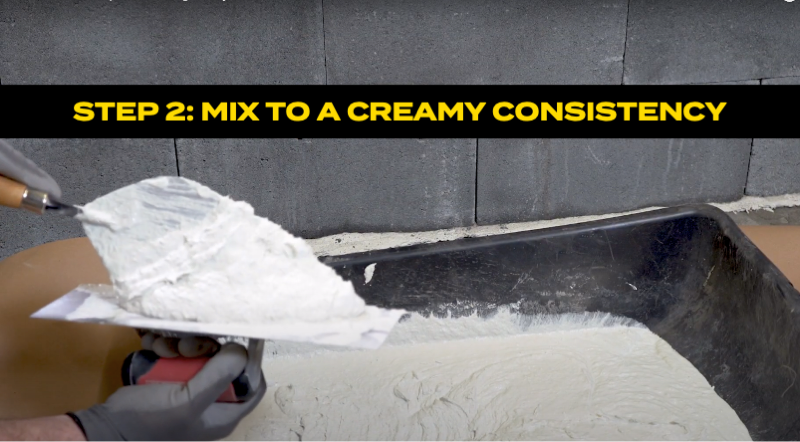
Mixing is done in two stages for a dry stack wall—a small initial batch to lay the first course, followed by additional full-size batches once the entire wall is stacked.
Project Tip: Replace part of the mix water with Sakrete Bonder & Fortifier when working in hot, dry or windy conditions to enhance bond and reduce plastic shrinkage and cracking.
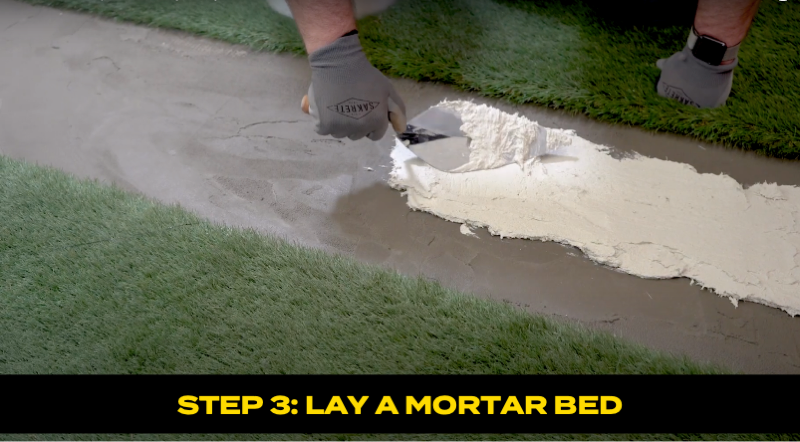
Please pay attention to the first course of your masonry wall, as it is the most critical step to the process. We recommend spending the extra time to ensure this layer is straight and level to set your project up for pro-grade results.
Project Tip: If your wall is less than 4’ long, you can skip the line blocks and string and simply check your work with a hand level. Snapping a chalk line is also a good way to establish your alignment.
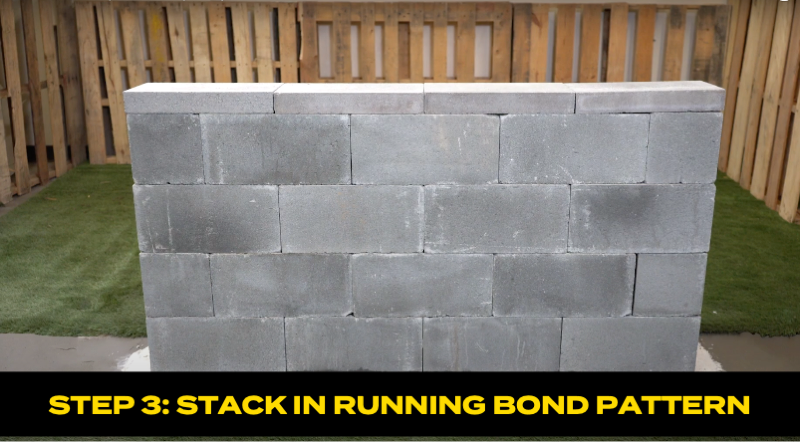
Time to get vertical.
Project Tip: Don't worry about any minor surface defects like minor chipped corners or face divots - these will be corrected during the next step.
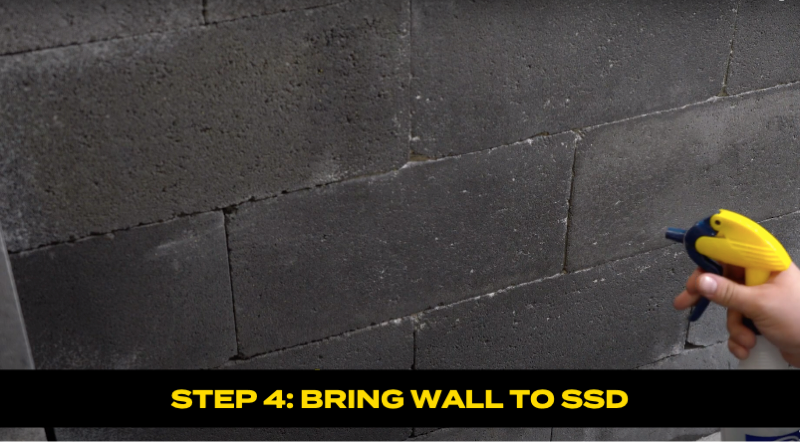
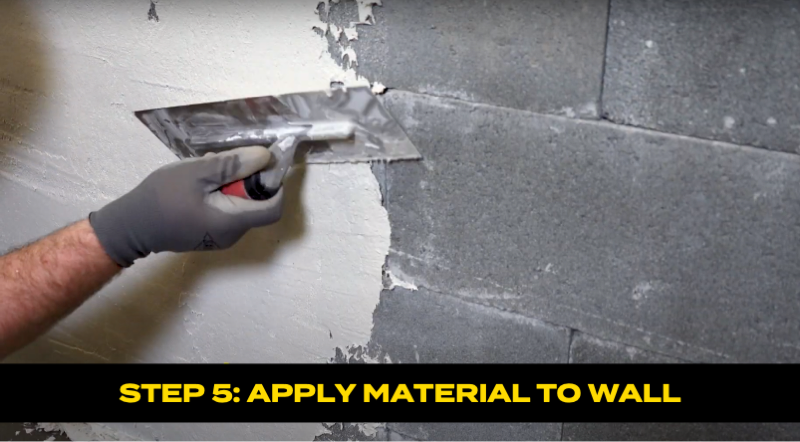
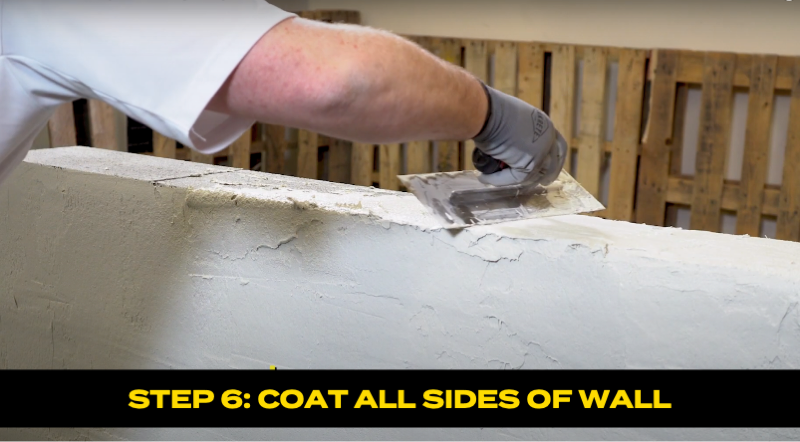
With the wall stacked, it’s time to bond it all together.
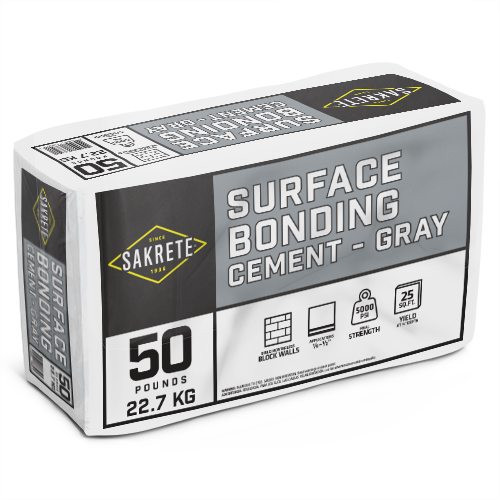
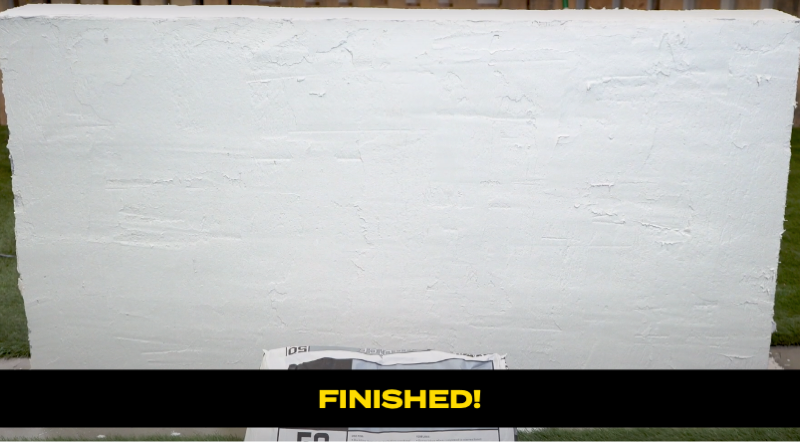
Project Tip: Surface Bonding Cement can be painted in 7 days and reaches its ultimate 5,000 psi strength in 28 days.
Enter An Email To Send These Results.