Products Used
Tools Needed
- Waterproofing membrane & adhesive
- Basic framing tools
- Graduated bucket
- 5-Gallon bucket for mixing
- Electric paddle mixer
- Wood or rubber float trowel
- Steel finish trowel
- Level
Project Level: moderate
Project Length: 3 – 4 Hours, Over 2 Days
Concrete Combat | Episode 5: Shower Pan Showdown
The shower pan is the all-important foundation of a stand-up shower. Water is a merciless foe, so cutting corners here can lead to rapid and expensive failure of the entire shower.
In this project guide, get the key practices for building a mortar shower pan after the framework of the shower is in place.
However, because the shower pan is just one piece of the equation, it’s important to consult your local building code as well as the Tile Council of North America (TCNA) Handbook and ANSI108.1 for additional details before starting the project.
Project Tip: Use the Sakrete App to quickly measure, estimate and buy straight from your phone.
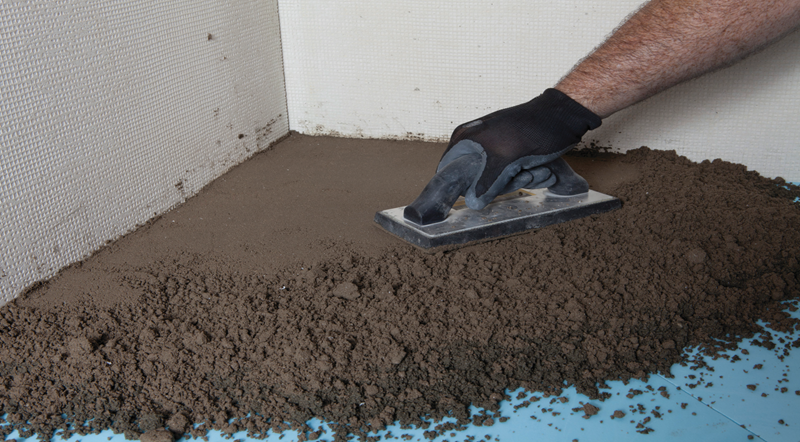
Shower pans are built in two stages. Each stage uses the same “dry pack” mixing method.
The first layer of the shower pan is underneath the waterproofing membrane. This often-overlooked step establishes a drainage path for water if the top layers of the shower pan are compromised.


Project Tip: Why pre-slope? If the membrane is installed flat on the subfloor, water will have no path to the drain and will cause mold, tile failure and eventually, failure of the entire mortar pan.


Project Tip: Make a final pass with a steel finish trowel to establish a smooth finish surface. While not mandatory, this will ensure that the waterproofing membrane isn’t abraded by the surface of the pre-slope mortar bed.
Waterproofing membrane ensures that any moisture intrusion is properly drained. Grout and mortar aren’t completely waterproof, so skipping this step can be catastrophic.
Project Tip: Defer to your waterproofing membrane manufacturer’s instructions for everything in this phase.
With the waterproofing membrane in place, it’s time to put the final layer of Sand Mix down. The depth of this layer will be determined by the height of the adjustable drain but must be a minimum of ½”.

Project Tip: Use a steel finishing trowel to smooth out the final mortar bed. This allows tiles to be set directly on the mortar bed instead of requiring additional thin-set mortar.
Enter An Email To Send These Results.